Creating a Banner
Create a new banner whenever an advertiser wants to display a new advertisement.
Advertisers must have at least one banner per campaign, to ensure that the campaign has at least one advertisement to display! However, a campaign may consist of many banners (for example, for different dimensions, or simply because there are different variants of the advertisements within the campaign). Revive Adserver will let you add as many banners to a campaign as you need.
If you have not already created the relevant campaign for the banner, first, create a new campaign.
Inventory > Banners
To create a new banner, go to Inventory > Banners:
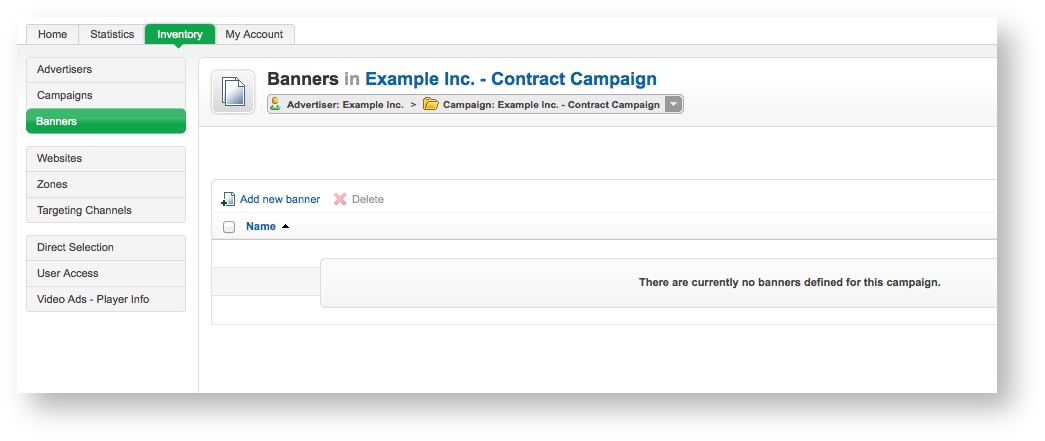
If you need to, use the drop down menu to select the appropriate advertiser and/or campaign.
Add new banner
Click on the Add new banner link. This will take you to the Add new banner screen.
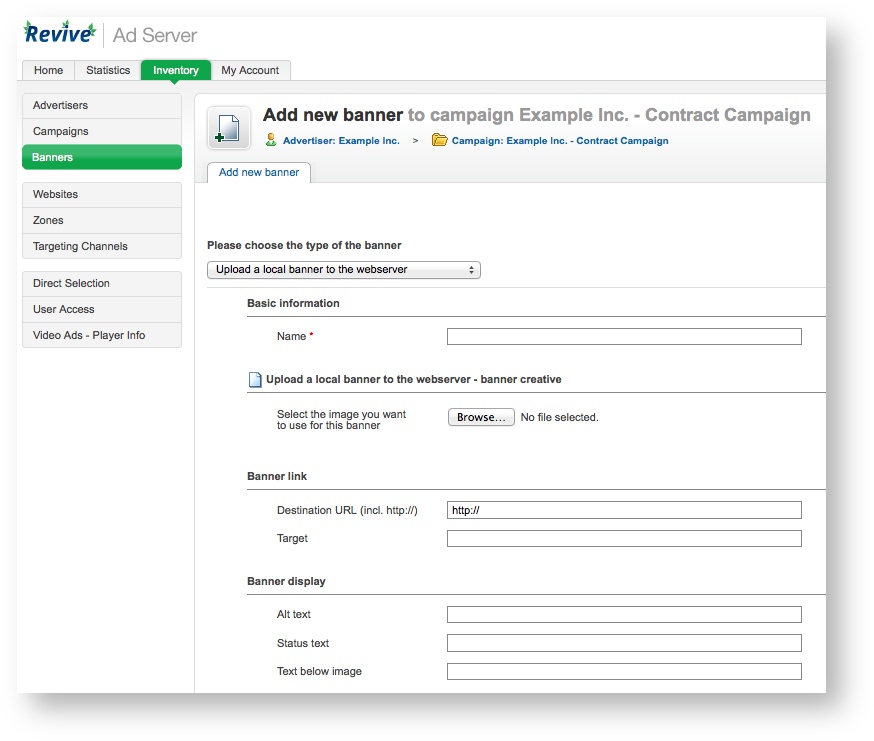
Banner type
To create the new banner, first select the type of banner you want to create. Which types of banner are available will depend on how Revive Adserver has been configured and which plugins have been installed, but the following types are supported (and possibly others, if you have installed 3rd party plugins for additional banner types):
- web
- Upload a local banner to the webserver: The banner's creative file will be uploaded to the configured webserver directory, and delivered to websites from this location. Revive Adserver supports the delivery of image-based banners (where the creative is a JPEG, WebP, GIF or PNG file).
- sql
- Upload a local banner to the database: The banner's creative will be uploaded to the Revive Adserver database, and delivered to websites from this location. As above, Revive Adserver supports the delivery of image-based banners (where the creative is a JPEG, WebP, GIF or PNG file).
- url
- Link to an external banner: Revive Adserver will deliver the creative from the URL supplied.
- html
- Generic HTML Banner: The banner creative will be the specified HTML.
- HTML5 Banner (ZIP package): The banner creative will be a ZIP package, containing an HTML5 banner and its associated resources (CSS, images, etc.)
- Inline Video Ad (pre/mid/post-roll): The banner creative will be an inline video ad that can be shown before, during or after another video, which is loaded from the an external location via a supplied URL.
- Overlay Video Ad: The banner creative will be a video, which is loaded from an external location via a supplied URL; an additional static image creative will be shown to the user before the video plays, which will be uploaded to the configured webserver directory, and delivered to websites from this location.
- text
- Generic Text Banner: The banner creative will be the specified generic, unformatted text.
If the banner you are creating requires either a text, HTML or video-based creative, then the banner type to use is clear - each of these creative options only has on choice. However, if you are using a static image-based creative, there are three choices: local webserver, local database, or external banner.
When creating banners with a static image for the creative, which is the right choice of the three available options?
- Upload a local banner to the database
- This option is the easiest to configure and use, because if Revive Adserver has been successfully installed, then the database will exist and be able to be used for storing creatives; thus, this option will always work. In addition, because the creatives are stored in the database, when Revive Adserver is upgraded, there is no need to have to worry about managing uploaded creative files during the upgrade process.
- However, this option is the worst performing of the three; much greater performance is possible with the other two options.
- Recommended for smaller installations of Revive Adserver.
- Upload a local banner to the webserver
- By uploading the banner creative to your webserver, you will be able to achieve far greater performance than by uploading the creative into the Revive Adserver database, as the banner creative can be delivered directly by your webserver, without the need to look up the file contents from a database.
- You also have a great deal of flexibility in terms of tuning and expanding performance - Revive Adserver can be configured to upload the banner creatives into a directory that can then deliver the banners using a dedicated, tuned webserver specifically for this purpose; or a cluster of servers; or even a Content Delivery Network, if required.
- However, this additional performance comes at a cost; by default, banner creatives are stored in your Revive Adserver installation directory, so the creatives need to be managed when Revive Adserver is upgrade; that, or you will need to perform additional configuration and systems management beyond simply using what is bundled by default to be able to scale performance.
- Recommended for larger installations of Revive Adserver, or where the installation is expected it may grow in the future.
- Link to an external banner
- This option is only really suitable where the banner creative is already available externally, or where the advertiser wishes to retain the ability to change the creative themselves over the course of a campaign.
- Otherwise, this option offers no real performance advantages over the "Upload a local banner to the webserver" option, and so is not recommended as an option except in the above mentioned circumstances.
Once you have selected the type of banner to create, fill out the required fields and set any optional values, as per the type of banner:
- SQL and web banners
- URL banners
- Generic HTML banners
- HTML5 banners
- Inline Video banners
- Overlay Video banners
- Text banners
Save Changes
Once you have done this, click on Save Changes to create the new banner. You will be returned to the Inventory > Banners page, where you will be able to see your newly created banner.

Delivering Banners
Once you have created a banner, the mechanism for delivering that banner will depend on the banner type. See the details of each banner type page for details on delivery methods.